


In this part of the series, I'll show you how to create a thick and volumetric cloud simulation using nParticles and fluid dynamics system in Maya.
1. Creating nParticle System
Step 1
Open Maya. Jump in nDynamics mode.


Step 2
Go to nParticles >
Create nParticles > Create Emitter and click on the option box. Do
remember to turn on Points option.


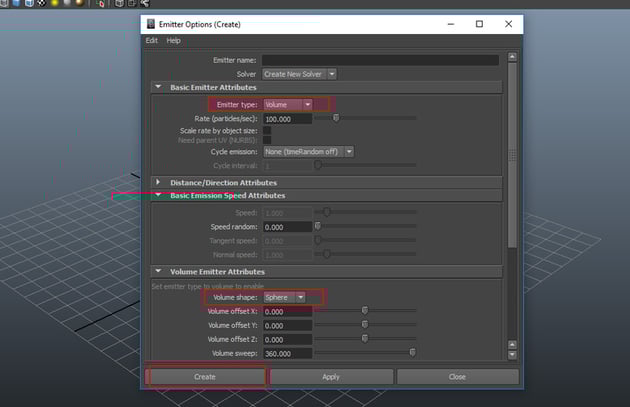
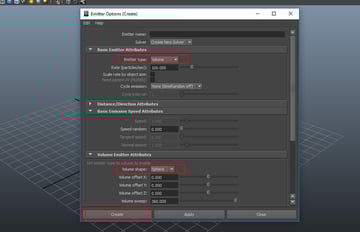
Step 3
In the Emitter
Options window, set the Emitter Type as Volume and Volume
Shape as Sphere and then click on Create button.

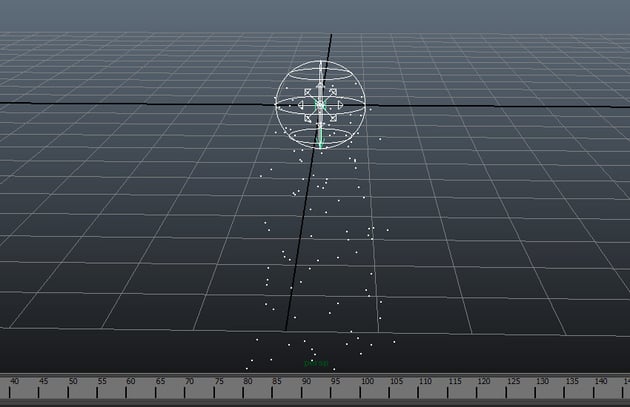
Step 4
You can see the
spherical emitter on the viewport grid. Press the Play button and you'll
see it emitting the particles.

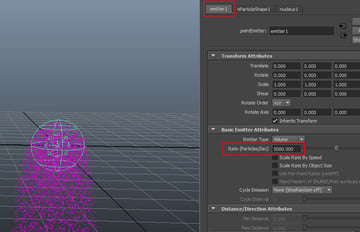
Step 5
Go to emitter1
attribute and set the Rate (Particles/Sec) as 5000. It increases
the number of particles in the viewport.


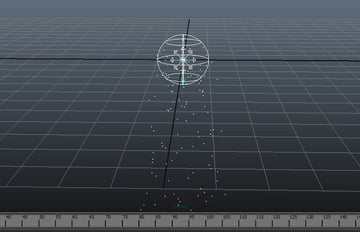
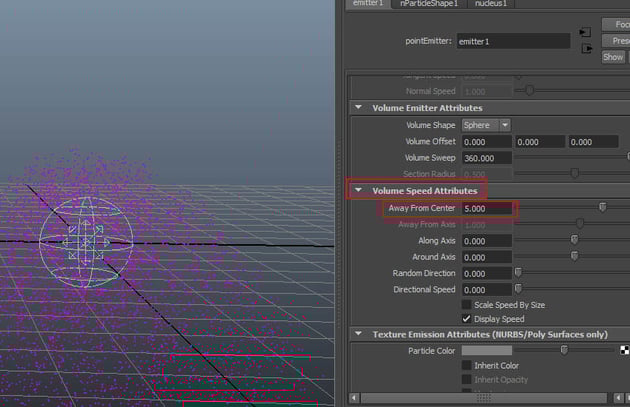
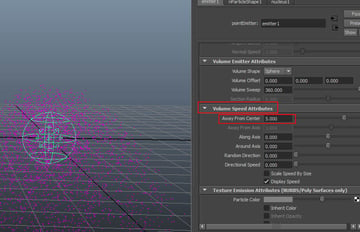
Step 6
Go to Volume Speed
Attributes and set the value of Away From Center to 5. It
will disperse the particles from its origin.

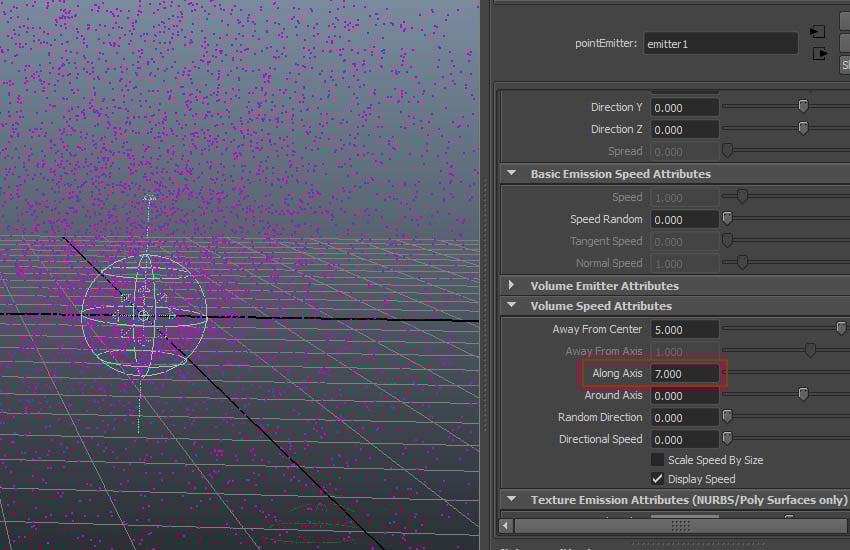
Step 7
Set the value of Along Axis to 7.


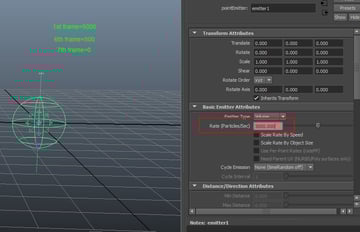
2. Key Framing Attributes
Step 1
It’s time to animate the
value of Rate (Particles/Sec). With the emitter selected, set the value
of Rate (Particles/Sec) to 5000 at 1st frame. At 6th
frame, set the value to 500. At 7th frame, set the value to 0.


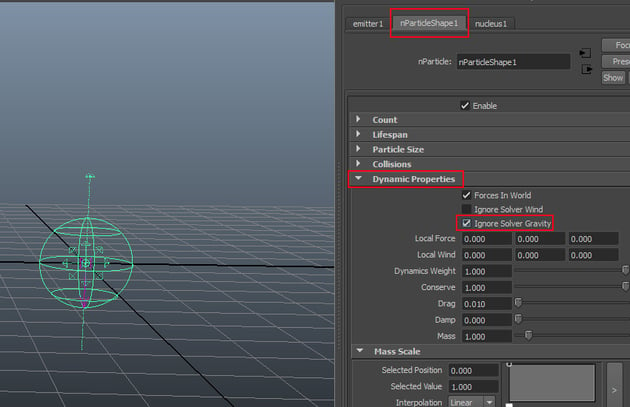
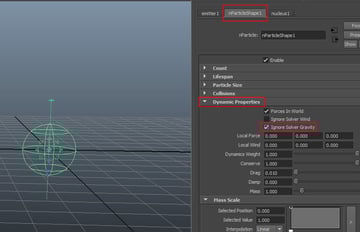
Step 2
Go to nParticleShape1
attribute and under Dynamic Properties rollout, turn on Ignore Solver
Gravity option.

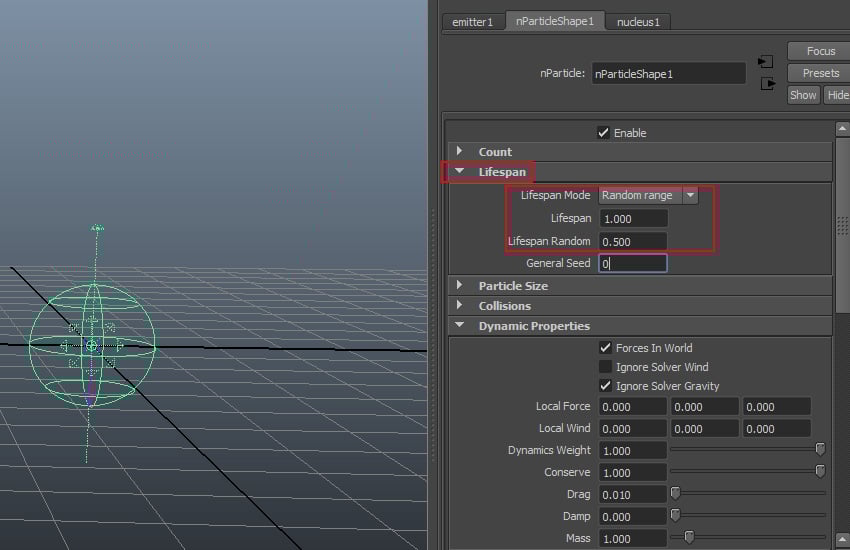
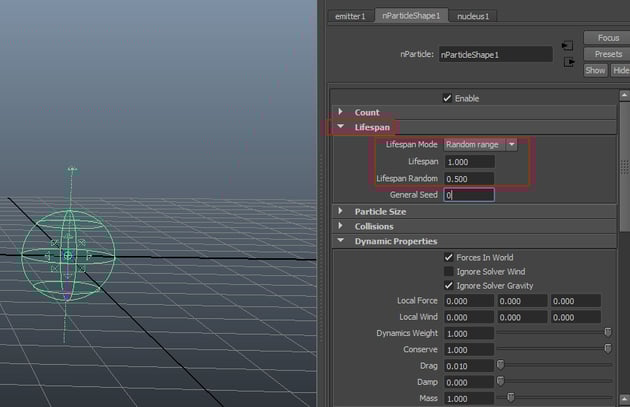
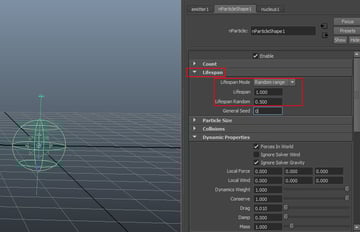
Step 3
Go to Lifespan
rollout and set the values of Lifespan Mode to Random Range, Lifespan
to 1 and Lifespan Random to 0.5.
3. Creating Fluid Container
Step 1
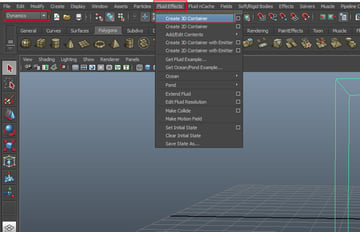
Jump in Dynamics
mode. Go to Fluid Effects > Create 3D Container and draw a 3D fluid
container in the viewport.


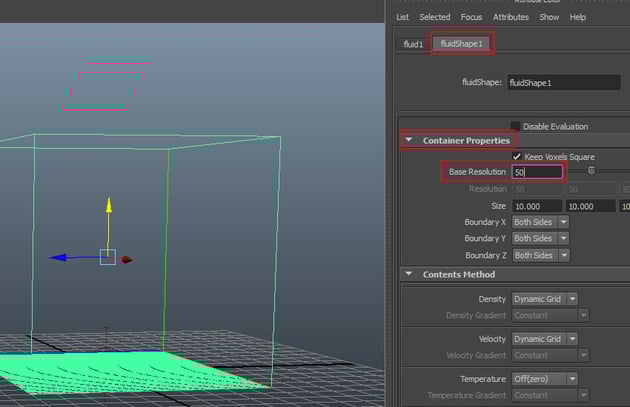
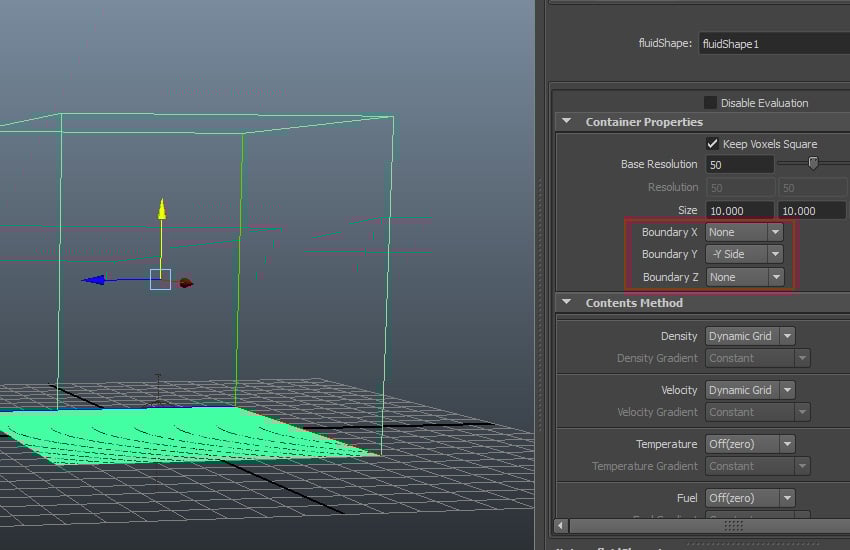
Step 2
With the fluid container
selected, go to fluidShape1 attribute. Open the Container Properties
rollout and set the value of Base Resolution to 50.


Step 3
Set the values of Boundary
X to None, Boundary Y to -Y Side and Boundary
Z to None.


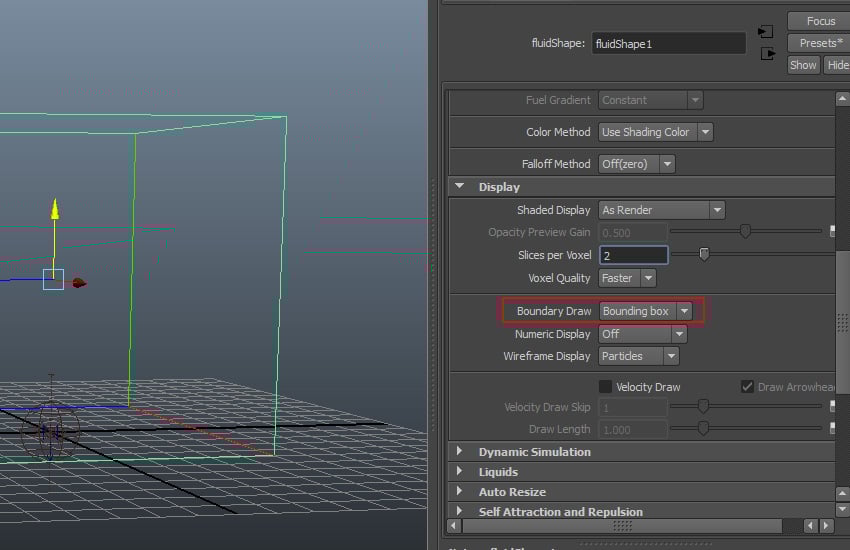
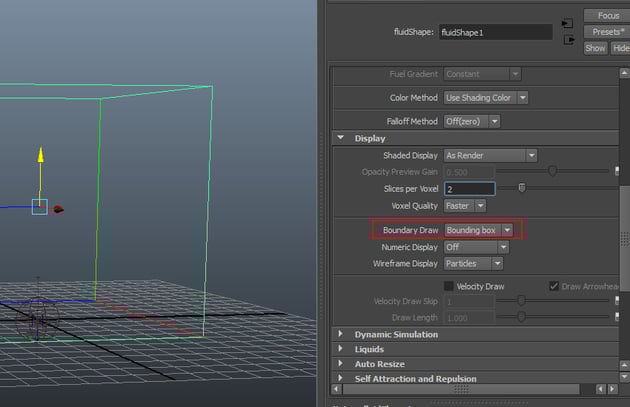
Step 4
Open the Display
rollout and set the value of Boundary Draw to Boundary Box.
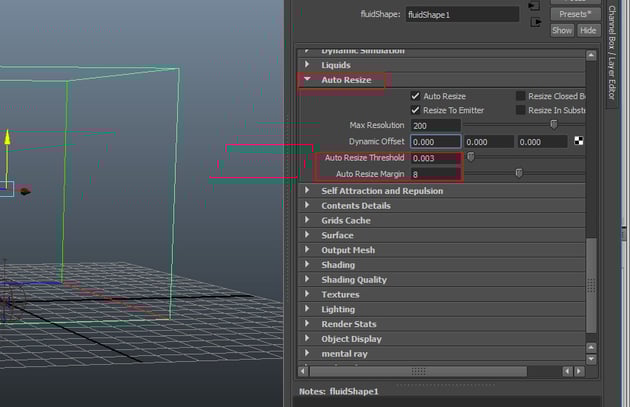
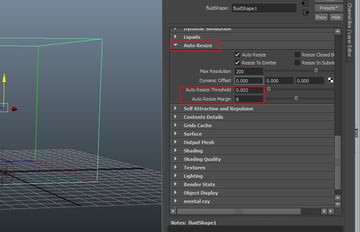
Step 5
Go to Auto Resize
to turn on Auto Resize option and turn off Resize Closed Boundaries
and Resize in Substeps options. Set the values of Auto Resize
Threshold to 0.003 and Auto Resize Margin to 8.

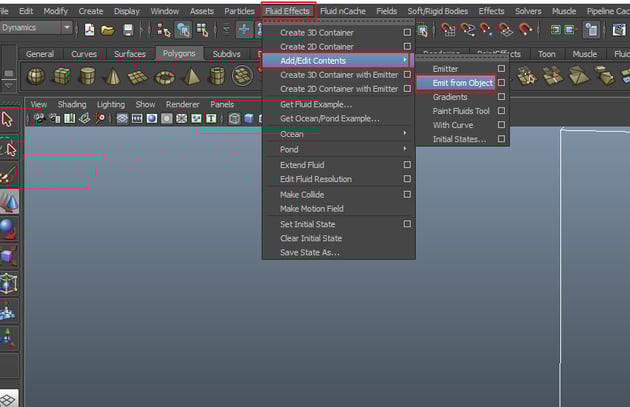
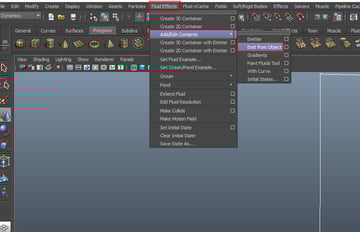
Step 6
With all particles,
emitter and the container selected, go to Fluid Effects > Add/Edit
Contents > Emit from Object.

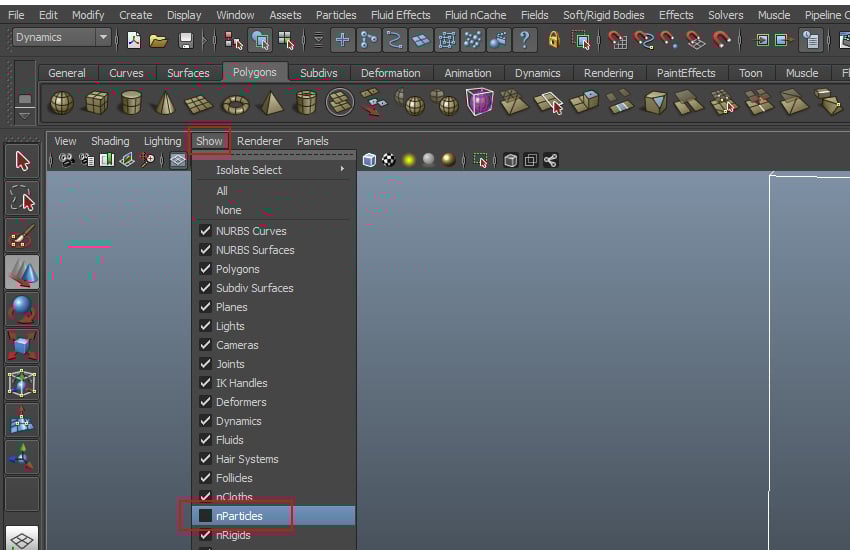
Step 7
Go to Show menu
and turn off nParticles option.


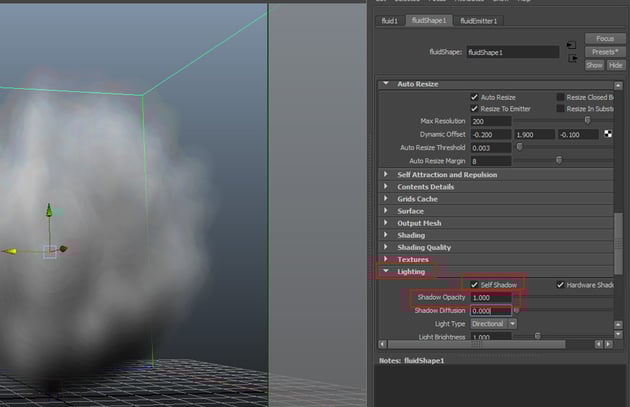
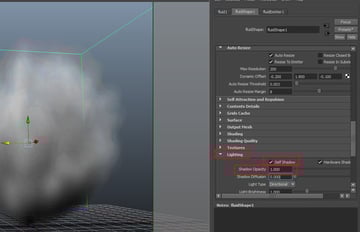
Step 8
Open Lighting
rollout and turn on Self Shadow option. Set the value of Shadow
Opacity to 1.

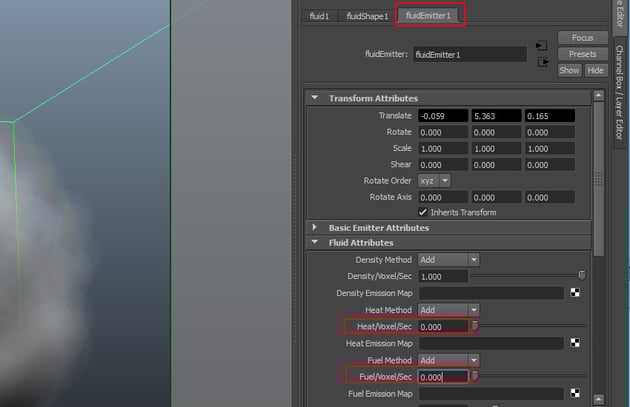
Step 9
Go to fluidEmitter1
attribute and under Fluid Attributes rollout, set the values of Heat/Voxel/Sec
and Fuel/Voxel/Sec to 0.


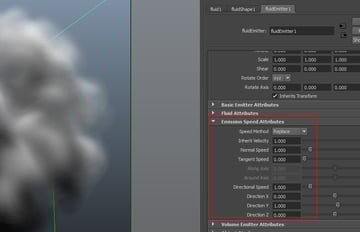
Step 10
Open Emission Speed
Attribute rollout and set the values of Speed Method to Replace,
Inherit Velocity to 1, Normal Speed to 1, Tangent
Speed to 0, Directional Speed to 1, Direction X
to 0, Direction Y to 1 and Direction Z to 0.


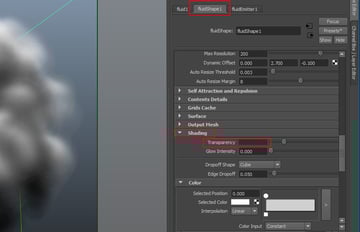
Step 11
Go to fluidShape1
attribute and open Shading rollout. Set the Transparency value to
grey.


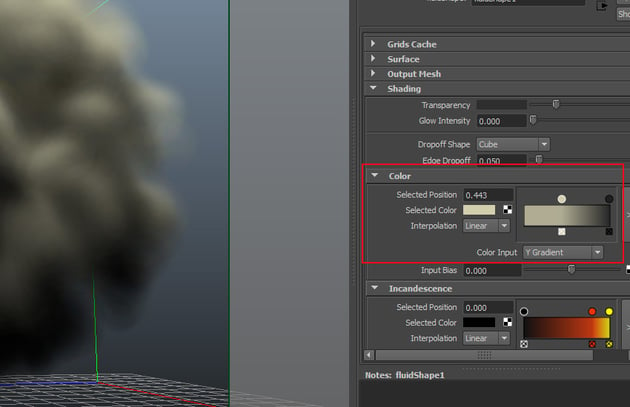
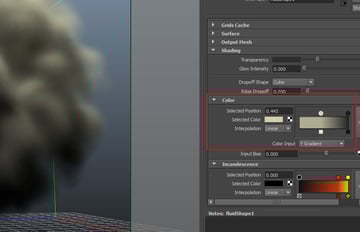
Step 12
Open Color
rollout and set the color as shown in the following image. Set the value of Color
Input to Y Gradient.

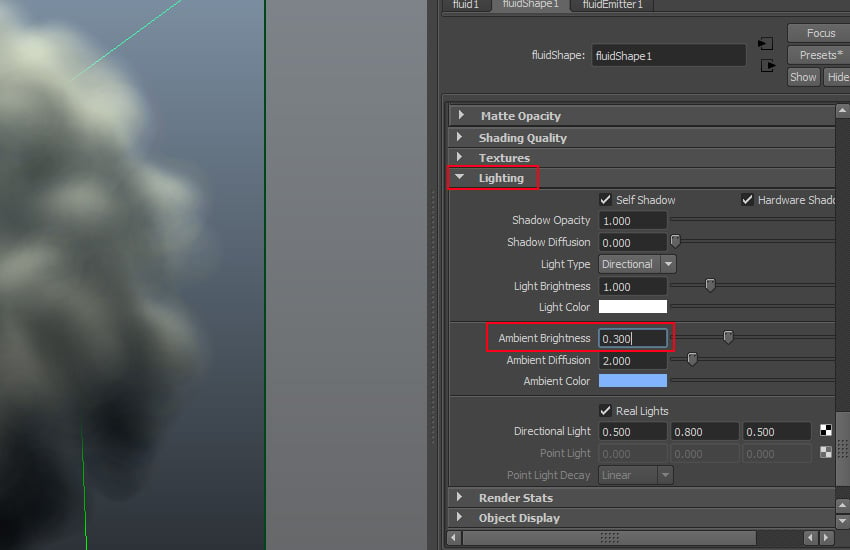
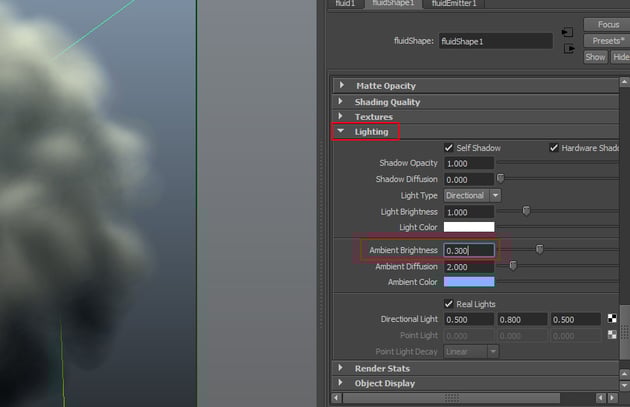
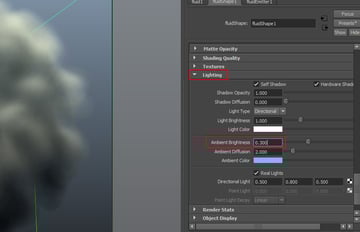
Step 13
Open Lighting
rollout and set the Ambient Brightness value to 0.3.
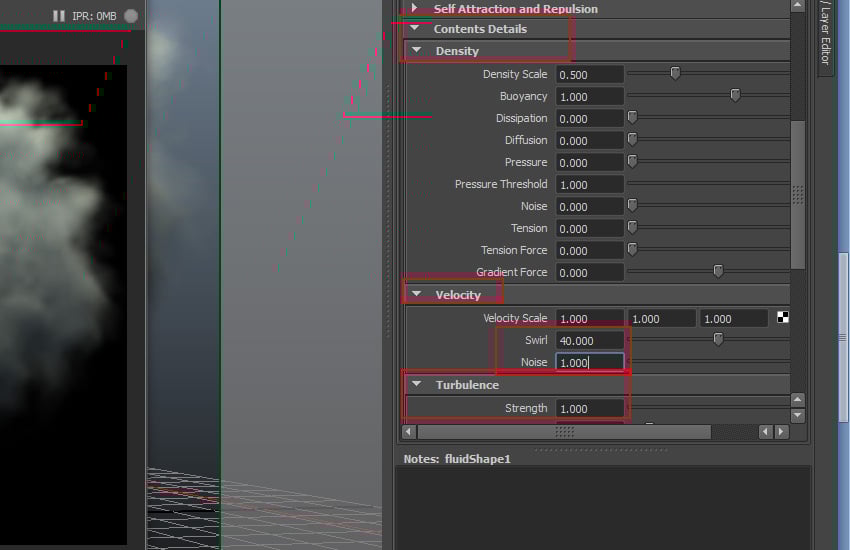
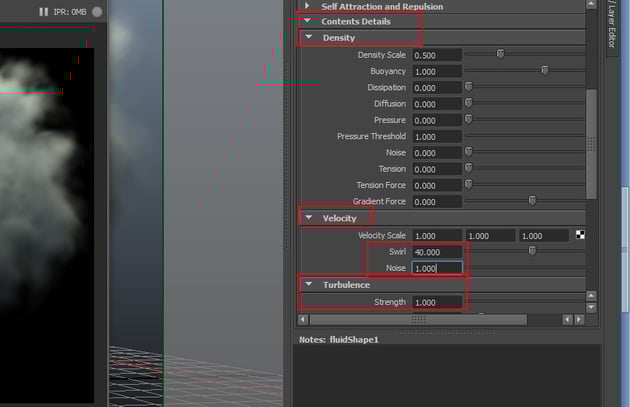
Step 14
Go to Content Details
> Density > Velocity rollout and set the value of Swirl to 40
and Noise to 1. Open Turbulence roll out and set the value
of Strength to 1.
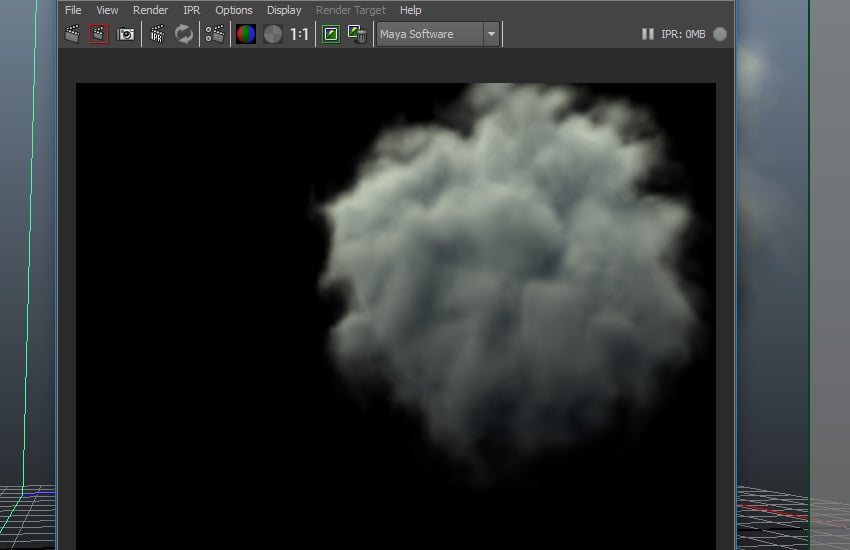
Step 15
Render the frame and you'll see the rendered cloud output.

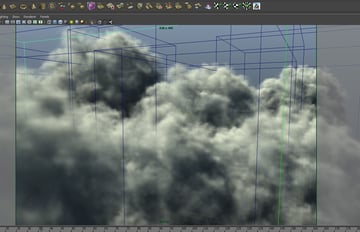
Step 16
Make several copies of
the fluid containers and spread them randomly for random clouds as shown in the
following image.

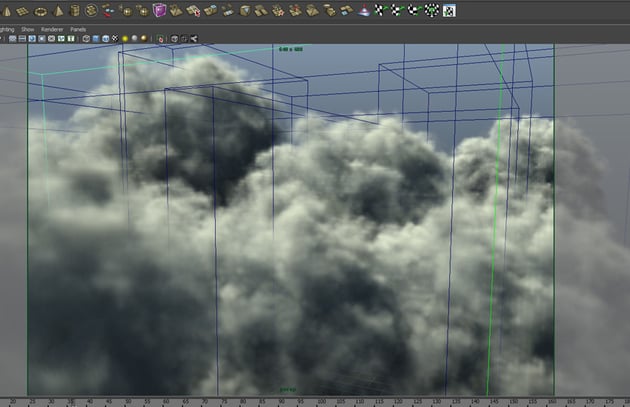
Step 17
Render the frame and you will see a beautiful rendered scene of randomly distributed clouds.


Conclusion
I hope you've enjoyed the tutorial. In the next part of the series, I'll show you how to create smoky fire using fluid dynamics in Maya.
 By
By


