
1. Importing Footage
Step 1
Open After Effects.


Step 2
Go to Composition > New Composition to make a newcomposition. Alternatively, you can press Ctrl-N keys. It opens theComposition Settings window.
Set the Width and Heightvalues to 1280 and 720 respectively. Set the Frame Rateto 30 and Duration to 15 seconds. Click on OK.


Step 3
Go to File > Import > File to import the image sequence.Alternatively, you can press Ctrl-I keys.
With the first image of theimage sequence selected, turn on JPEG Sequence option. Click on Open. You can find the image sequence attached with this tutorial.


Step 4
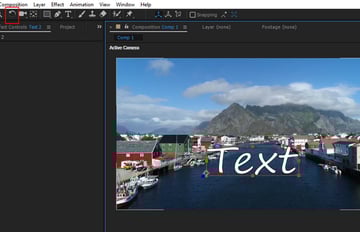
With the image sequence selected, drag and drop it inside the composition.You'll see the footage in the comp view.


2. Camera Tracking in After Effects
Step 1
With the image sequence layer selected, go to Animation > TrackCamera.


Step 2
The 3D camera tracker system starts analysing the footage. It analyses thefootage in two steps.


Step 3
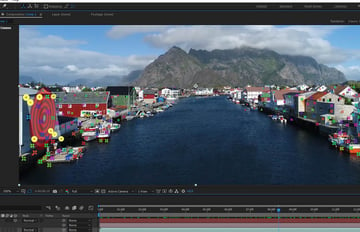
After a couple of seconds, the analyse process ends. Now you can seeseveral track points in the scene.


Step 4
These track points would help to generate the text and thecamera. You need to select at least four points to generate the helping dummyor layer. Select several track points on the houses as shown in thefollowing image.


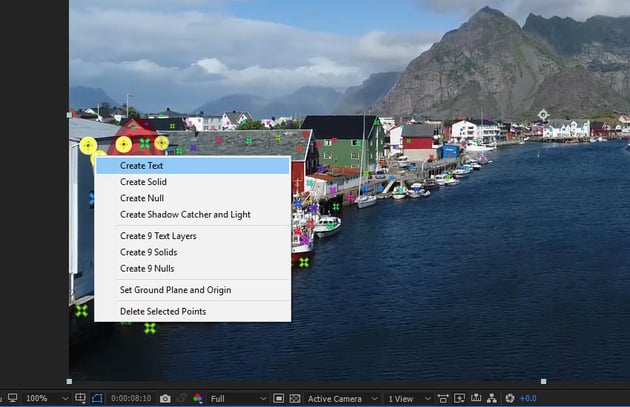
Step 5
With the points selected, secondary-click the mouse and select CreateText and Camera.


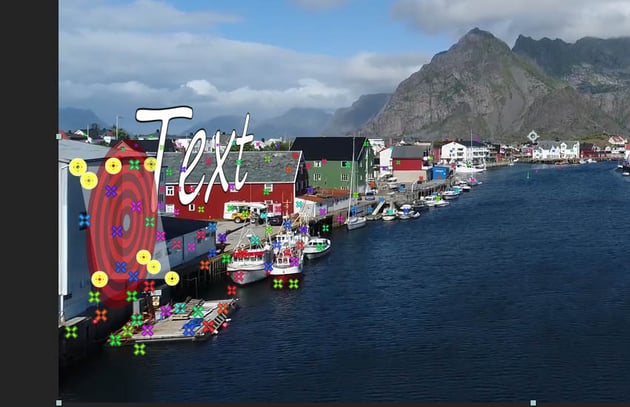
Step 6
You get a Text and 3D camera in the timeline. The text sticks with thefootage and follows the camera.


Step 7
With the help of Rotation Tool, rotate the text to face the camera.


Step 8
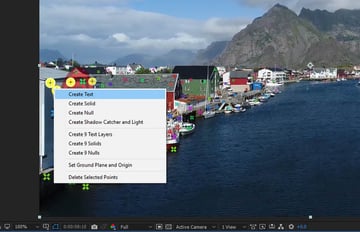
Go further in the scene and select the indicated track points.


Step 9
With the points selected, secondary-click the mouse and select CreateText.

Step 10
You get another Text in the scene.


Step 11
With the help of Rotation Tool, rotate the text to face the camera.


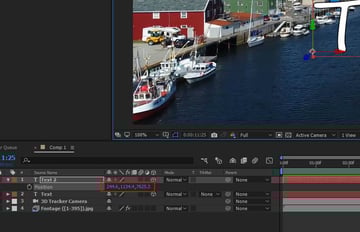
Step 12
Adjust the position of the text in the scene by playing with thevalues of Position property.


3. Creating Depth of Field
Step 1
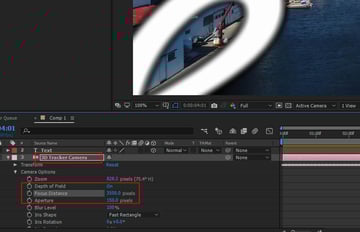
To create depth of field effect, go to 3D Tracker Camera layer andturn on Depth of Field option.
Set the values of Focus Distanceand Aperture to 3500 and 150 respectively.


4. Creating Reflection
Step 1
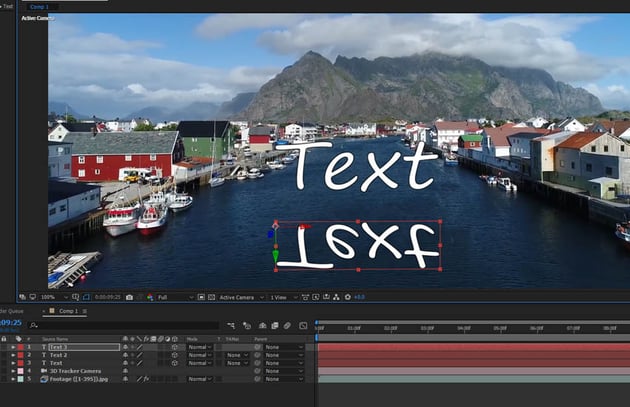
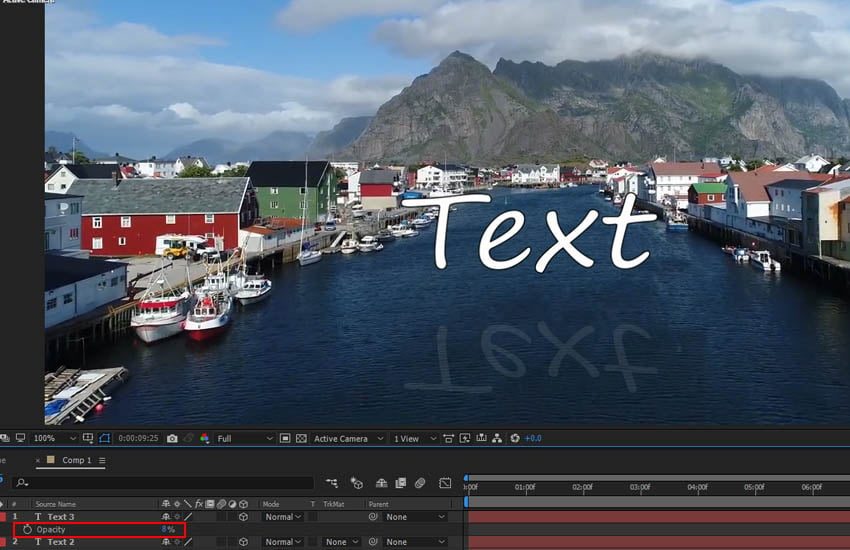
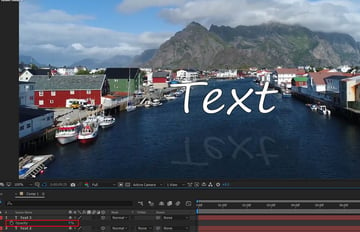
Create a duplicate layer of the text layer by pressing Ctrl-D key.Invert the duplicate text layer upside down as shown in the following image.


Step 2
Decrease the opacity of the inverted layer. With the layer selected, press Tkey on the key board and decrees the Opacity value to 8.

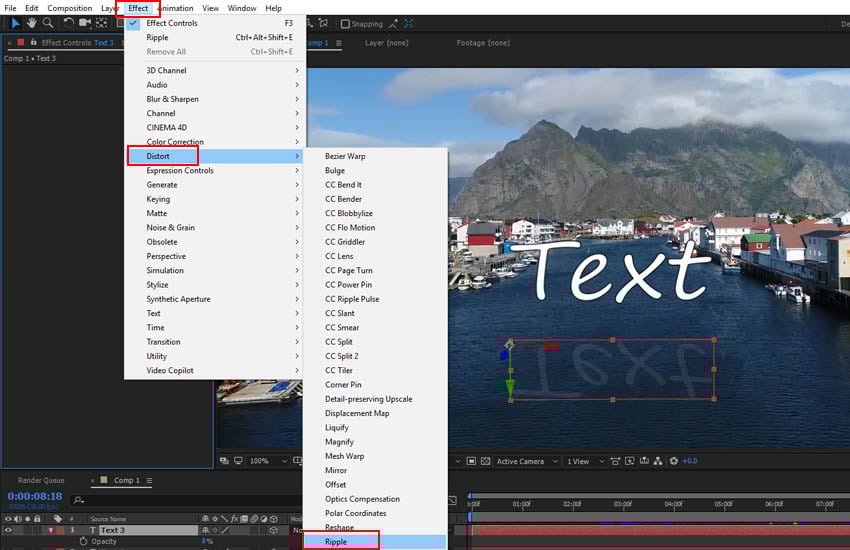
Step 3
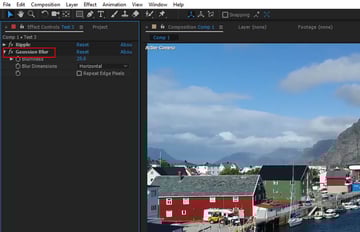
Go to Effect > Distort > Ripple and apply the effect to thereflection layer.


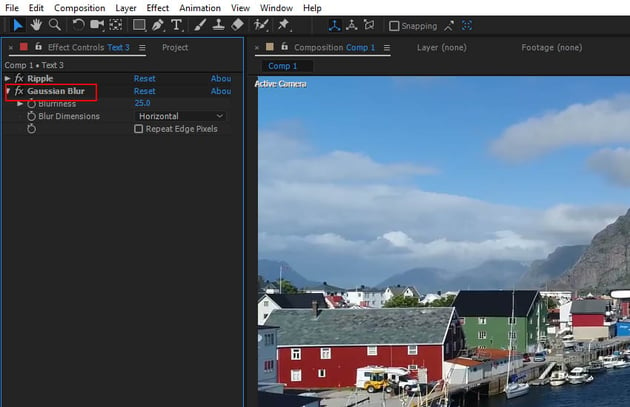
Step 4
Go to Effect > Blur and Sharpen> Gaussian Blur and apply theeffect to the reflection layer. Set the value of blur to 25.

Step 5
Press the Play button. You'll see the text layers are attached to the sceneand following the camera perfectly.


 By
By


