
Screencast

1. Project Setting
Step 1
Open After Effects.


Step 2
Go to Composition > New Composition to make a new composition.
Set the Width and Height values to 1280 and 720respectively. Set the Frame Rate to 25 and Duration to 12seconds. Click on OK.


Step 3
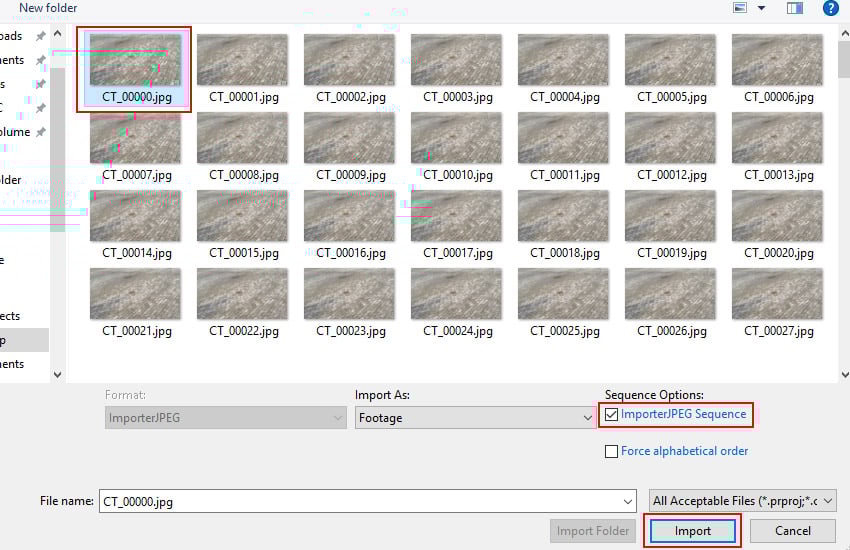
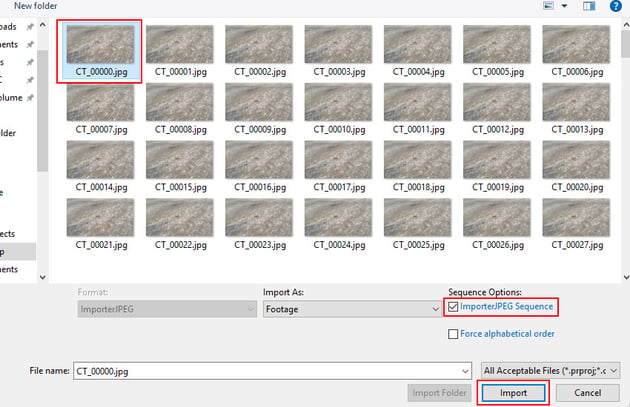
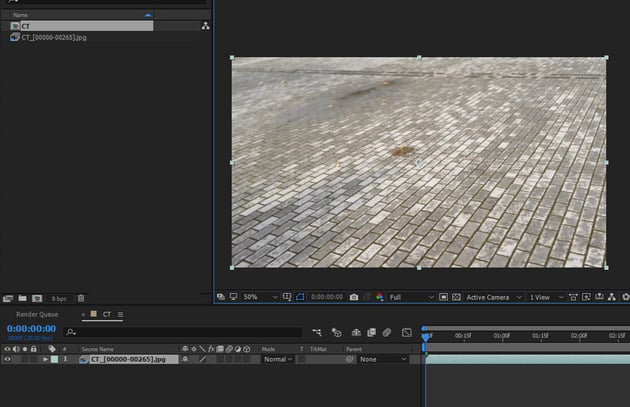
I have provided the live action footage, which can be foundin the attachment of the tutorial. Go to File > Import > File toimport the image sequence. Alternatively, you can press Ctrl-I keys.With the first image of the image sequence selected, turn on JPEG Sequenceoption. Click on Open.
Step 4
With the image sequence selected, drag and drop it insidethe composition. You can see the footage in the comp view.


2. CameraTracking in After Effects
Step 1
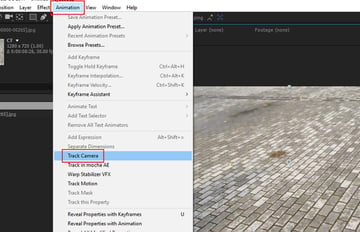
With the image sequence layer selected, go to Animation > TrackCamera.


Step 2
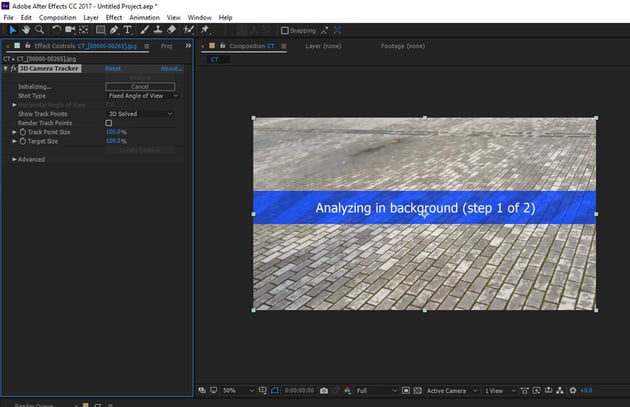
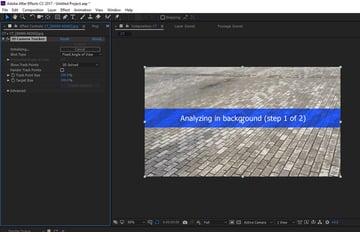
The 3D camera tracker system starts analysing the footage. It analyses thefootage in two steps, hence it might take some time to complete.

Step 3
After a couple of seconds, the analyse process ends. Now you can seeseveral track points in the scene.


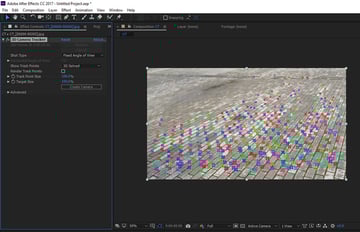
Step 4
These track points would help to generate the dummy 3Dplane/null and the camera. You need to select several points as shown in thefollowing image.


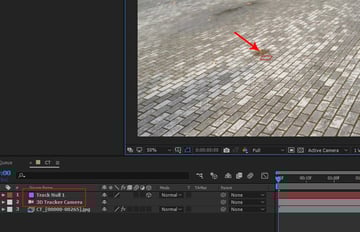
Step 5
With the indicated points selected, secondary-click the mouse andselect Create Null and Camera.


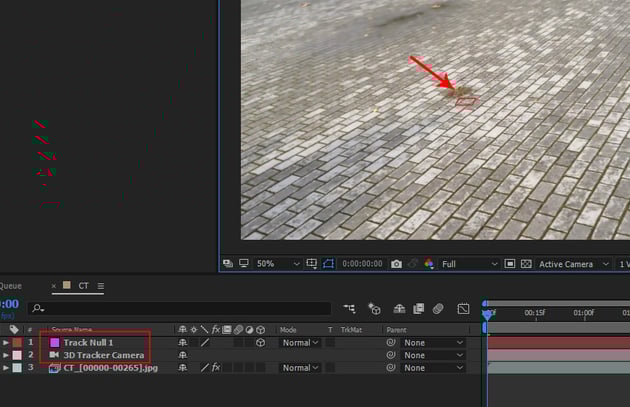
Step 6
You get a Null layer and 3D camera in the timeline. This Nulllayer is the placeholder and sticks with the footage and follows the camera.

3. Creating Object in Element 3D
Step 1
I hope you all are aware with Video Co-pilot's Element 3D. This is a robust plug-in of After Effects which lets you insert 3D models in After Effects composition.
I would urge to go to the link to know more about it. https://www.videocopilot.net/products/element2/
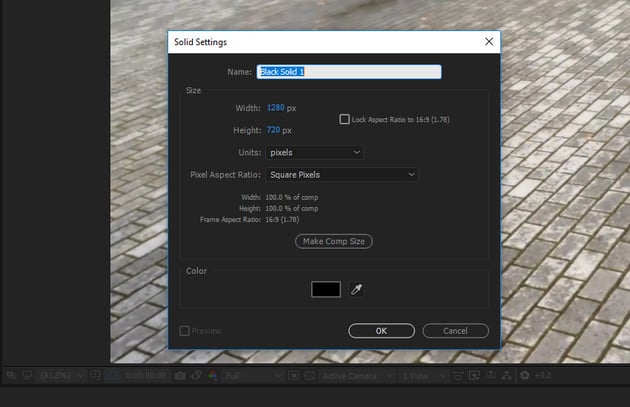
To start with Element 3D, go to Layer > New > Solid.

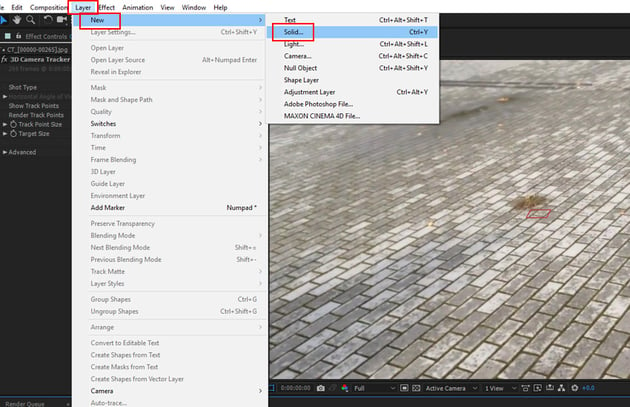

Step 2
It creates a black solid layer. The Element 3D object will be applied tothis layer.

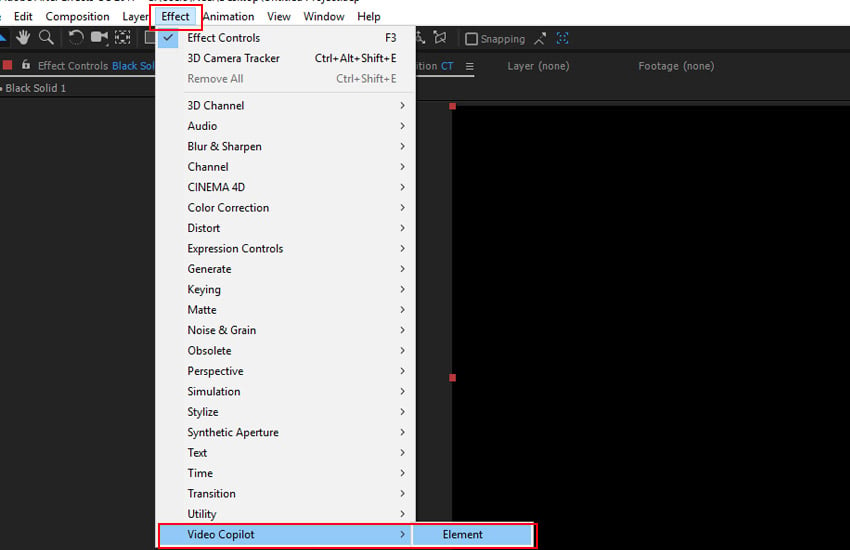
Step 3
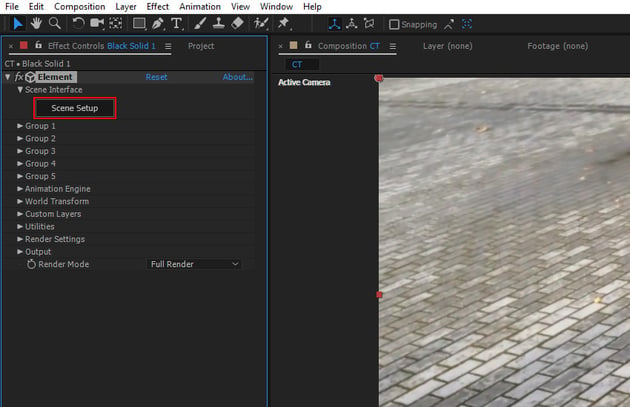
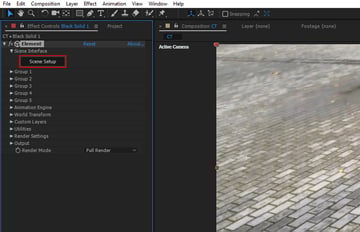
Go to Effect > Video Copilot > Element.

Step 4
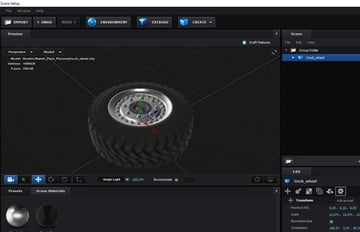
Click on Scene Setup to open the Element 3D interface.

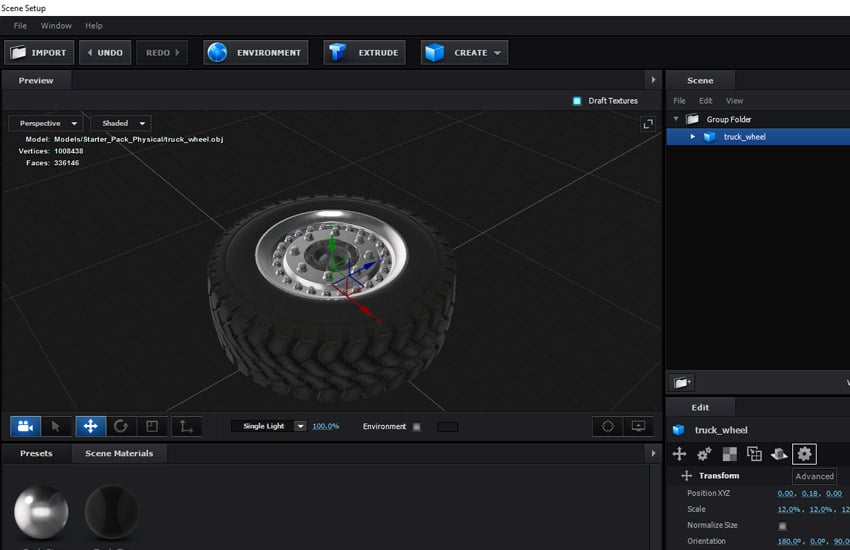
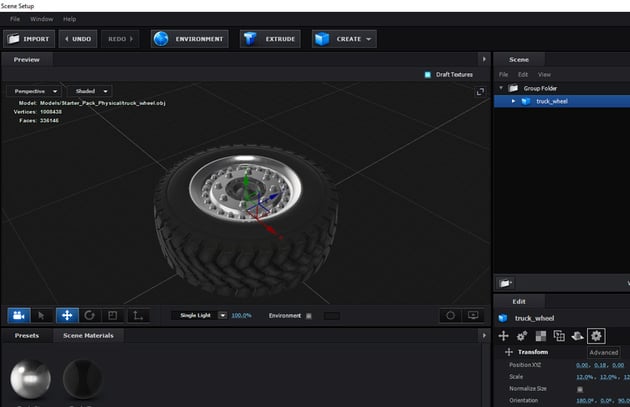
Step 5
There are several default 3d objects in Element's directory, so you can choose any one of them. I have imported the truck wheel mesh in the view port. Click on OK.
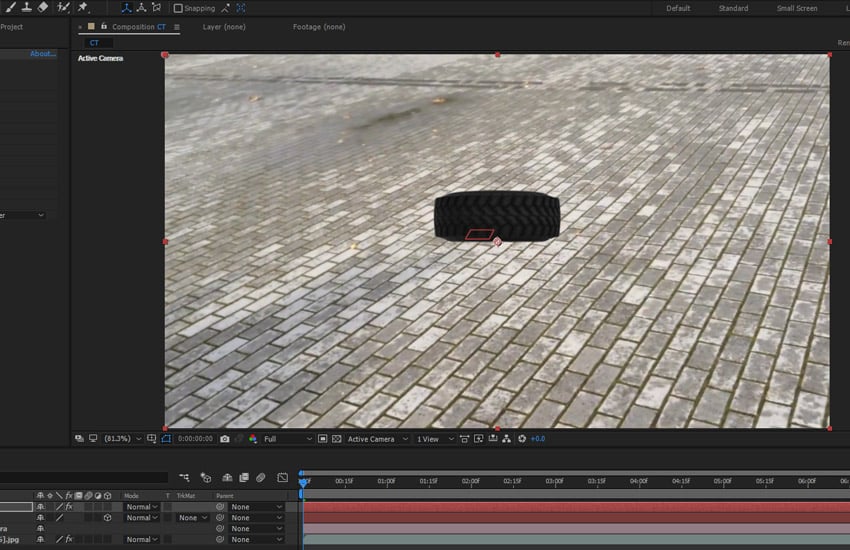
Step 6
The truck wheel object has come into the scene but you needto align it according to the camera.

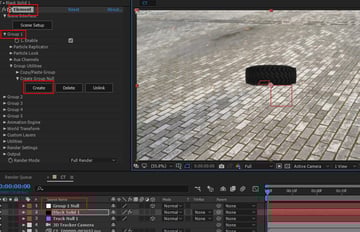
Step 7
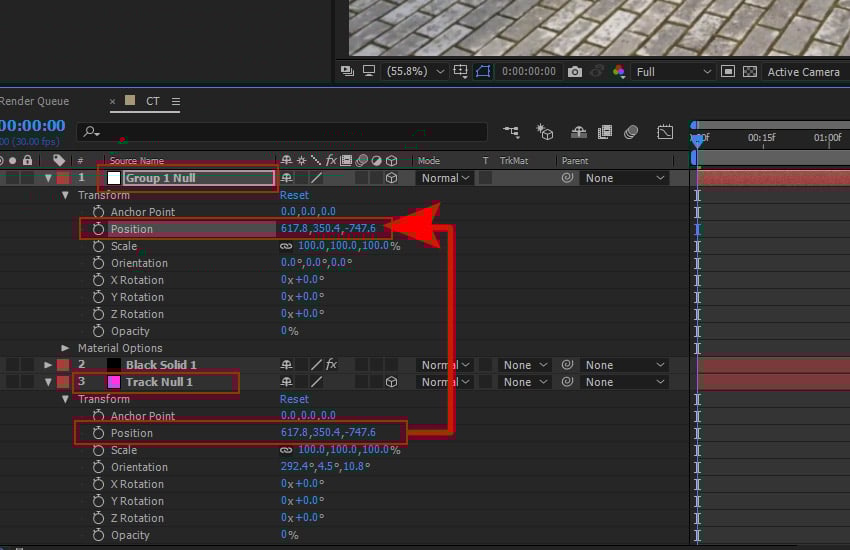
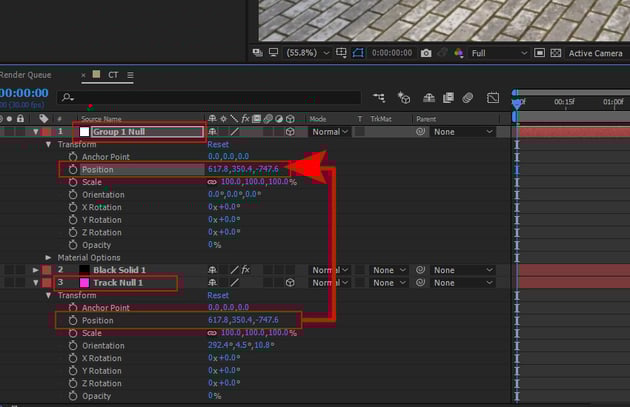
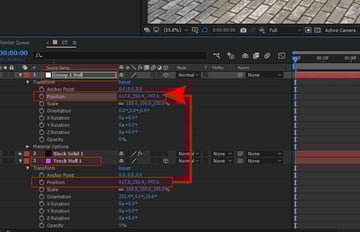
With the element layer selected, go to Element effect and under Group1 roll-out menu, click on Create button. It creates Group 1 Nulllayer.


Step 8
Copy the Position value of Track Null 1 layer and paste thesame in the Group 1 Null layer.
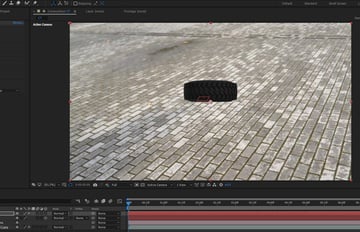
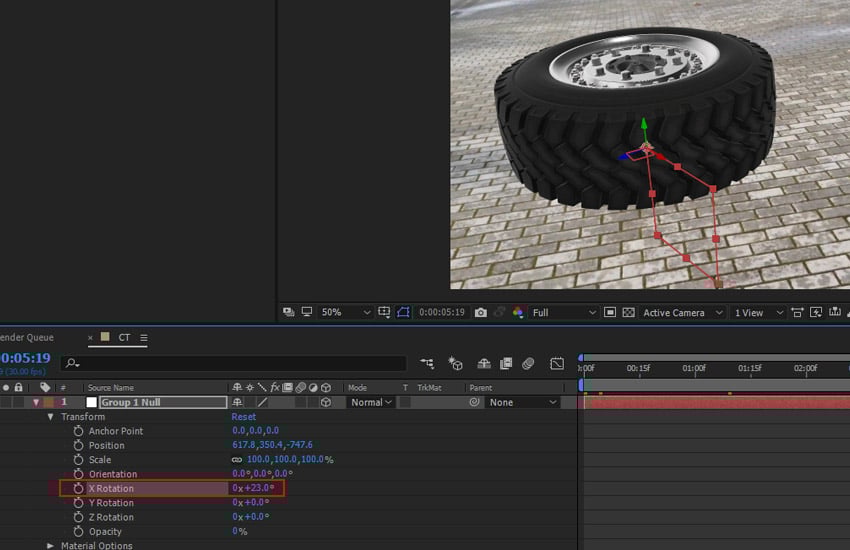
Step 9
You need to tweak the X Rotation value a bit to match theorientation of the truck wheel.


4. Applying Lights and Shadow
Step 1
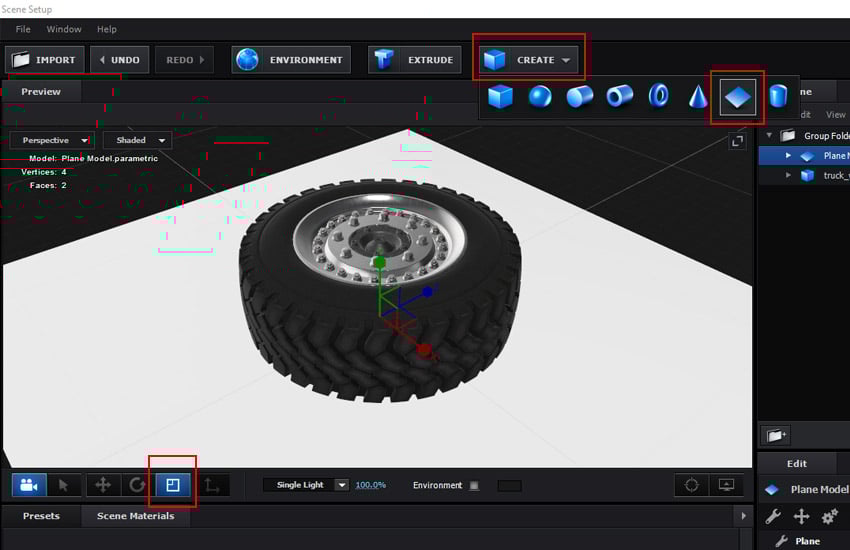
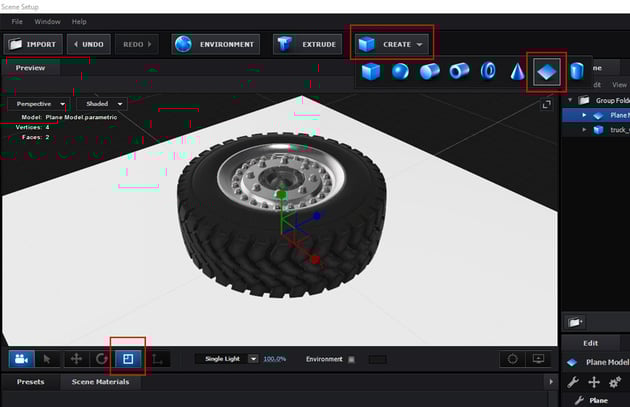
Once again go to Element 3D Scene Setup and create a plane beneath thetruck wheel in the view port.

Step 2
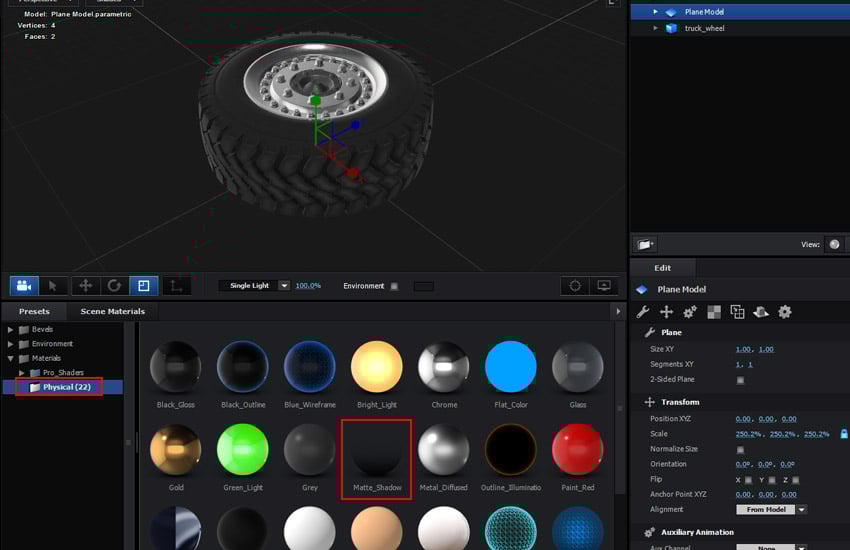
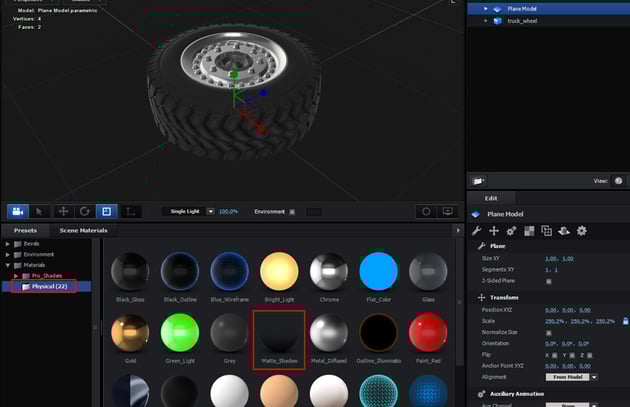
Apply Matte Shadow material to the plane. Click on OK button.

Step 3
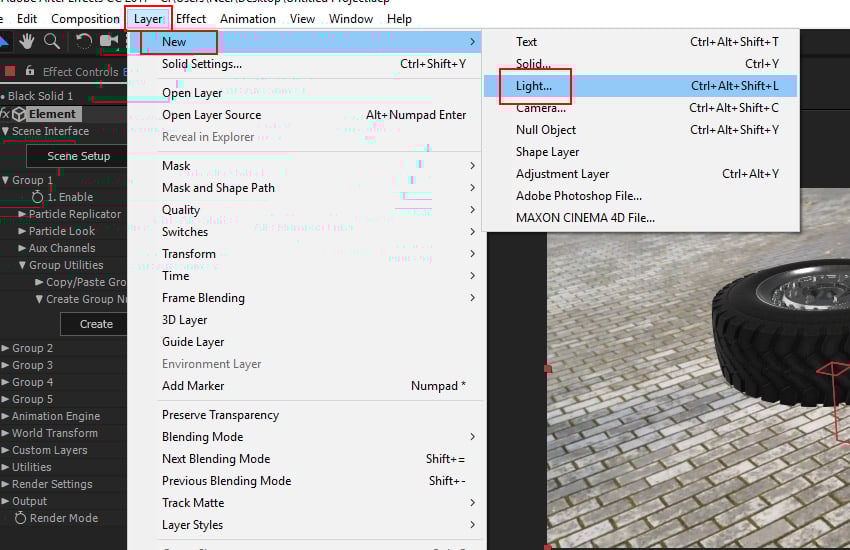
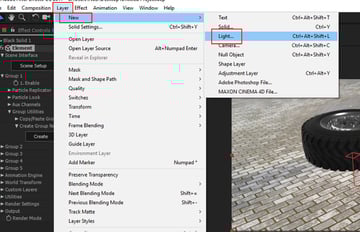
Go to Layer > New > Light.

Step 4
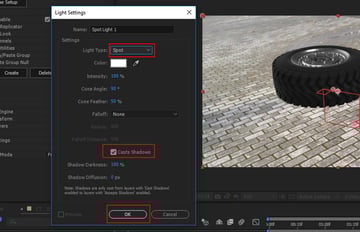
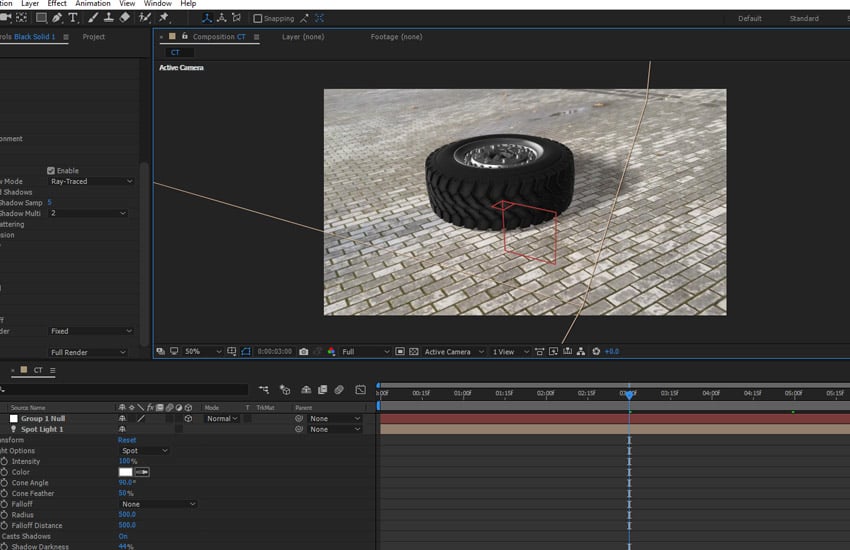
Create a Spot Light with Shadow optionenabled.


Step 5
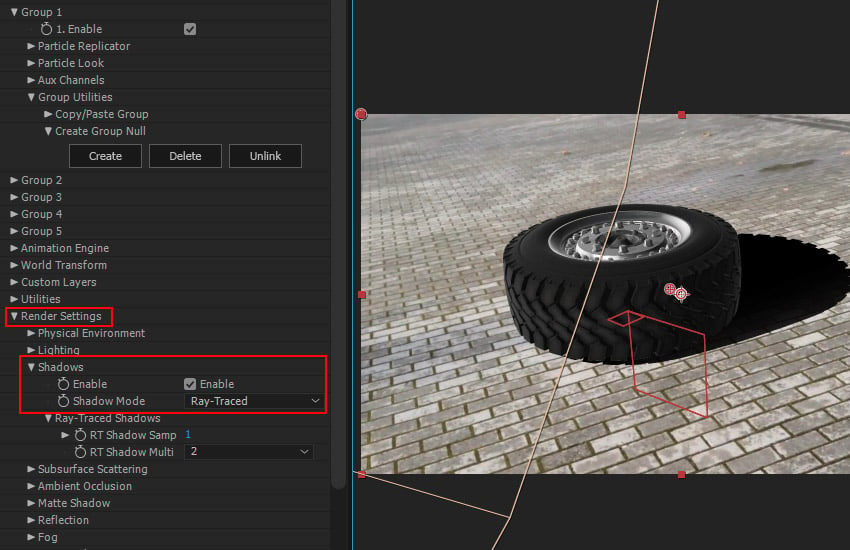
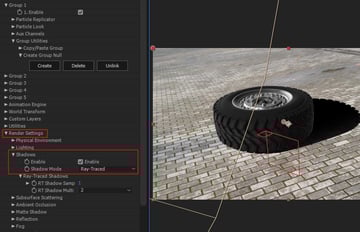
With the element layer selected, go to Element effect and under RenderSettings roll-out menu, enable Shadow and turn the Shadow Modeto Ray-Traced. You will immediately see the shadow in the view port.

Step 6
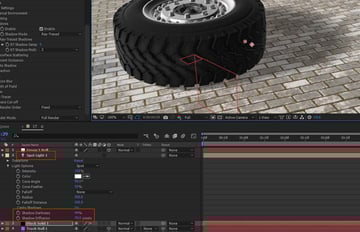
Go to Spot Light 1 layer and lower the values of Shadow Darknessand Shadow Diffusion parameters to soften the shadow darkness and blurthe shadow to match it with the rest of the scene.


Step 7
Hit the Play button and you will see the truck wheel has merged withthe live action scene perfectly.


Conclusion
Tracking with Element 3D is a great fun. It is not only easy but it also minimises the dependency on 3D animation software. I will be writing some more interesting tutorials on 3D tracking in this series.
 By
By


